Taking steps from a blank page to a rocket

Whether it’s writing an essay, playing a sport or learning to drive, the hardest part of any venture is starting. Amatuer rocketry is no exception, but our hope is for the reader to understand that rocket science is entirely accessible to high schoolers.
The design process is how any engineer turns a blank page into a rocket. Since there’s not a concrete, one-size-fits-all method, I’ll (Bryce speaking) describe a process that has worked well for me.
The first step towards a successful mission is defining success. This is called the mission objective; it’s the reason for building the rocket in the first place. My first mission objective was as simple as getting airborne.
Mission objectives don’t need to be this limited, other doable goals include reaching a mile in altitude, flying a camera as high as possible or recovering a rocket with a parachute. The most important thing, however, is that an objective is picked beforehand.
With an objective in mind, the next step is determining mission requirements. Mission requirements are a specific outline of how the rocket needs to perform. For example, if the objective is to recover the rocket, the rocket requires an explosive charge of some kind and a parachute of sufficient strength.
Listen to Andrew Rieker and Bryce Foshee’s latest podcast.
Mission requirements show what systems a rocket needs, but equally important is figuring out what shouldn’t be part of the rocket. These are the design constraints.
One important consideration is cost. For example, one of my dreams is carving a nozzle out of graphite, but pure graphite bar stock is rather pricey.

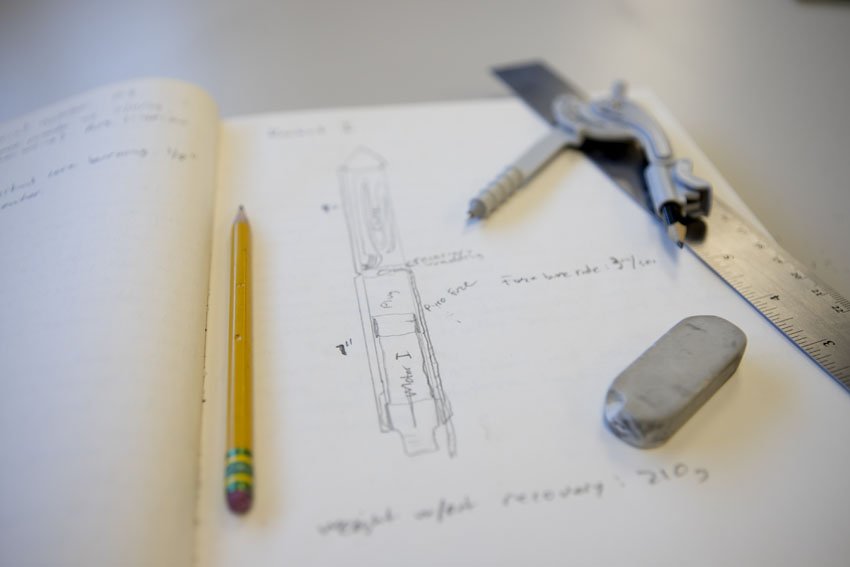
Finally, it’s time to sketch out a prototype rocket design. To figure out what size a motor needs to be for the desired thrust, one can use math or computer simulations.
In the model rocket industry, model rockets are sold in prepackaged parts and pre assembled for the user depending on the level of rocket. My (Andrew speaking) first rocket was a level two model. This means that some parts required glueing and assembling. My second model rocket was the base level and only required assembly, (inserting the nose cone into the body and attaching the fins to the lower half of the body.)
Both rockets performed adequately and set up in the same way but used different motors. The first used a “b” level motor and the second used a “c” level motor. They are the same except the “c” goes higher. (The motor levels progress accordingly, there is an “a” level motor but I have never used it.) They have motor levels going all the way up to “t” or higher. At some point however you need classification to purchase these. They do get more costly however the higher up you go in class.
In our next blog, we’ll talk about the FC Rocket Program we are starting. As always, our goal with these blogs is to inspire the reader to join us in building rockets. A great resource for learning more about amateur rocketry operations is Richard Nakka’s website.
Visit our site at fcrocketprogram.wordpress.com for more details and updates.
Andrew Rieker can be reached via email.
Bryce Foshee can be reached via Twitter and via email.


